There are many websites that have virtual sticky notes that can help your students and class brainstorm and share ideas with their classmates. Edistorm has done a fantastic job, going the extra mile to make virtual sticky notes even more awesome.
What are some advantages of using Edistorm?


7. You can send an email out to anybody you want to invite to your "Storm," but since most students don't have email, just give them the link to your storm. Also you can use URL shorteners that are more user friendly and easier to type. Click the "Create" button to get started.

8. To the left you will see your sticky notes and colors. Just start typing and then click the "Add Idea" button. You can change to color of the note as well by clicking the colored squares. Remember that your students will also be allowed to create their own sticky notes as you discuss your project.

9. You can also click the "Image" icon or the "Movie" icon so that you can upload images or link to Youtube videos.

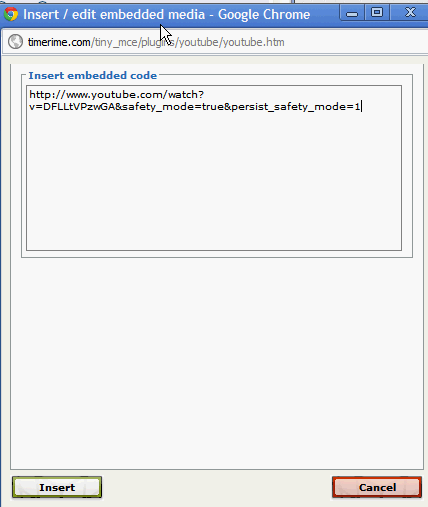
10. Just past the Youtube URL into the Movie box and click the "Add Video" button.
11. Now your whole plan is bigger than your monitor so to the right of your screen you will see the whole plan. Just drag the square around to the section that you want to detail.

12. Dow at the bottom left you will see your "Legend." Just click on each word of the legend and you will be able to change the color name to any name that you want. I did that for the color yellow, which I named "Sports."

13. If you want to share your sticky note board now you can click the "Invite Users" button.

14. You can change the email message here, add email addresses to the list, or get your "Storm's" URL.


What are some advantages of using Edistorm?
- Students can vote on ideas.
- Easily shared with others.
- Live chat while brainstorming.
- You can add video and images to your sticky notes.
- Many templates to choose from.
- You can export your document to PDF and get reports.
What are some disadvantages to the Edistorm?
- I didn't find a "Zoom" out option and because the size of your sticky board I think that it would be nice to have.
Here is an introduction to the site via Youtube.
Tutorial
1. Go to www.edistorm.com
2. Click on the "Sign Up" link at the top if you are new or the "Login" button.

3. If you are just registering, fill in the information and then click the "Sign Up" button.

4. Once you are signed up, click the "Create New Storm" button.

5. Give your storm a name, choose a template to work with, decide how many votes each student will get for the choices that will be made, and then give your "Storm" a description.

6. There are many templates to choose from. Select the one that works best for your project you are working on.

7. You can send an email out to anybody you want to invite to your "Storm," but since most students don't have email, just give them the link to your storm. Also you can use URL shorteners that are more user friendly and easier to type. Click the "Create" button to get started.

8. To the left you will see your sticky notes and colors. Just start typing and then click the "Add Idea" button. You can change to color of the note as well by clicking the colored squares. Remember that your students will also be allowed to create their own sticky notes as you discuss your project.

10. Just past the Youtube URL into the Movie box and click the "Add Video" button.
11. Now your whole plan is bigger than your monitor so to the right of your screen you will see the whole plan. Just drag the square around to the section that you want to detail.
12. Dow at the bottom left you will see your "Legend." Just click on each word of the legend and you will be able to change the color name to any name that you want. I did that for the color yellow, which I named "Sports."

15. At the bottom right of your screen you can also open up a chat window and virtually discuss the notes together.

16. This is kind of what the sticky notes look like. You and your students can vote on the ideas by either dragging the "green dots" onto a sticky note or you can just click the box with the number in it.

17. On your sticky note you can click the "Comment" button and comment on each other's posts.

18. One of the nice things you can do with Edistorm is print off and save your "Storm." Just click the "Reports" link at the bottom left corner of the program and you can then choose which type of report you would like.
That is all there is to using Edistorm. Here is my link so that you can play with my "Storm" and give it a try.